My foray into aquaponics
By Jon Archer
A few weeks ago, a friend of mine and I were sharing YouTube videos around water harvesting, hydro electricity generation and the like. As the usual YouTube journey does, I ended up going off on a tangent and watching a video on aquaponics. I found it really fascinating so started looking deeper and deeper, and finally decided to give it a go. I’d always planned on getting a greenhouse for our new garden and a couple of planter boxes and growing veg but this looked great.
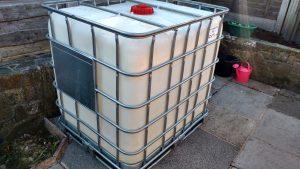
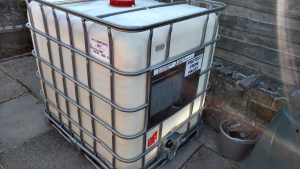
One of the videos I ended up watching was Building an IBC aquaponics system. From here and reading various blogs and forums I decided I would also build a system based on this method, a quick search on eBay later I found a local chap who was nice enough to deliver an empty IBC crate. These are a 1000 litre container roughly a metre square.
The idea with IBC aquaponics is that you cut approximately a quarter off the top, remove a further quarter then leave half. Turning the top section upside down this leaves a large tank for fish and a smaller tank for growing in.
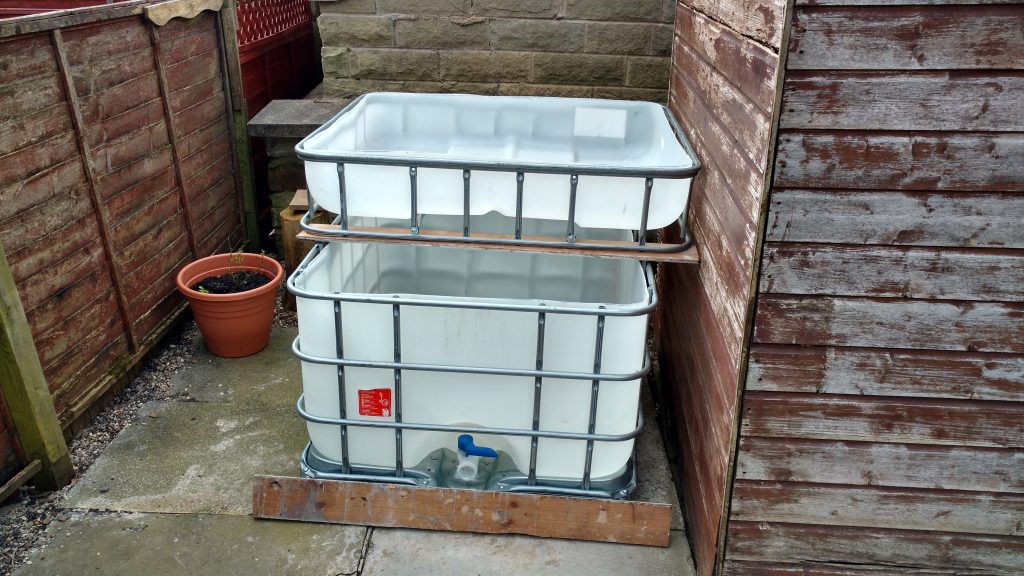
I cut mine using a metal blade on my Black and Decker scorpion saw, went through the frame and the plastic nice and easy. Many people use an angle grinder also. Anyway I had mine cut and all nicely cleaned up from the stinky milk contents that were previously in the container. Now on to putting the pipework together.
The idea behind aquaponics, at its most simplest, is that the fish fertilise the plants and the plants clean the water for the fish. So with this in mind we need some way of getting the water from the fish tank into the grow bed, and of course back again. I fashioned a frame of 21mm pipe around the grow bed with 6mm holes at 15-20cm intervals and attached this to a 1500 litre per hour submersible pump to sit in the fish tank.
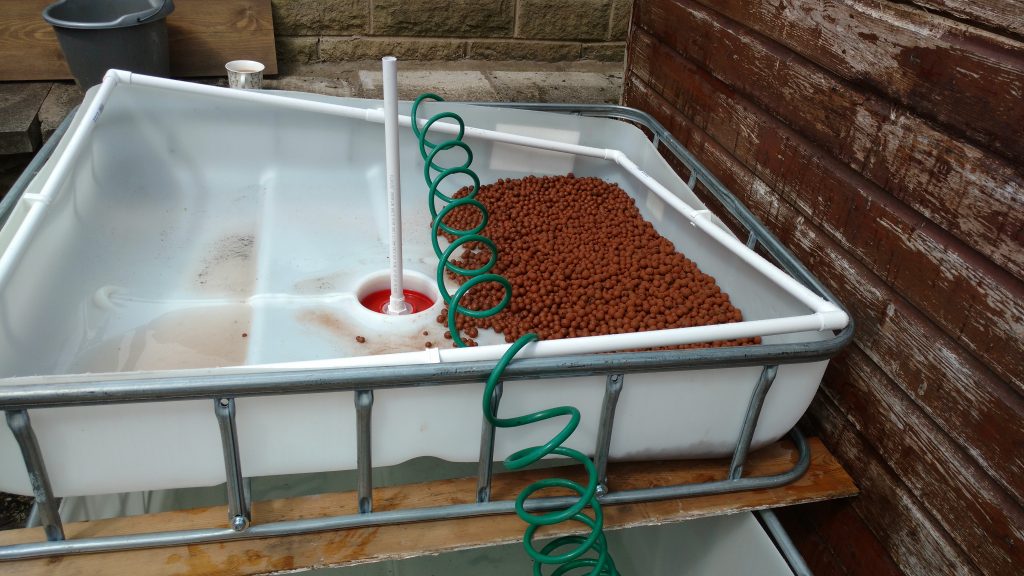
You can see the pipe roughly dropped into place in the image above. Now we had water going in, there needed to be a way for it to drain out. There are a few ways people do this, I opted for what is known as the flood and drain method. This is where the grow bed fills with water then almost completely drains using a bell siphon. In the above photo you can see a pipe sticking up in the centre, this is in preparation for the siphon.
I built my siphon based on the design of Affnan as most people do, although I struggled to find certain parts in the UK I just made those bits up as I went along. I used the lid of the IBC and put a hole big enough to fit a 21.5mm push fit tank connector through, I used a 90 degree bend version so I wouldn’t have to mess around with one further down. This fitting meant i was left with a screw fit connector on the topside, which I couldn’t seem to find a suitable connector to attach which would take 21.5mm push fit pipe and the inner diameter was just too small to take the pipe. I ended up heating up the pipe and coaxing it into the end, the result was sealed tight and seemed to work quite well.
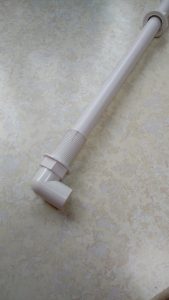
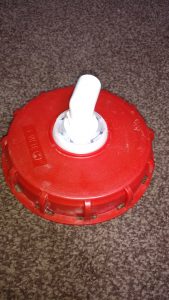
The next part of the siphon was to cut the standpipe to size, this should be roughly an inch below the grow medium, which is roughly an inch below the top of the container, therefore 2 inches below the top. Over the top of the stand pipe needs to go another larger pipe, in my case a piece of 68mm drain pipe, with a top cap on and pieces cut out at the bottom to allow water to flow through. Also useful is surrounding this with a further larger piece of pipe to prevent roots or grow medium clogging up the siphon, for this I used a piece of 110mm soil pipe with slits cut into it.
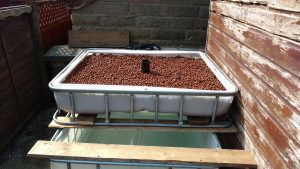
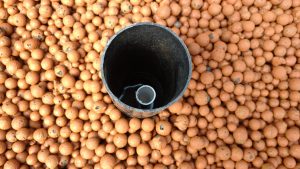
Here you can see pipework, standpipe and grow medium all in the top bed ready for a test run. The fish tank is also full at the bottom.
The grow medium you can see is made up of small clay balls, these are a firm favourite among aquaponics system builders due to their consistency and guarantee that they won’t lower the pH of the water. It took roughly 210l of medium to get to the right level in the grow bed.
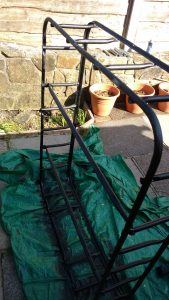
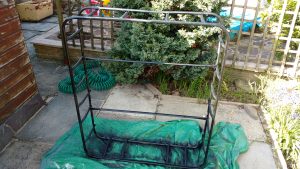
I gave the system a test run without the siphon fully built to ensure that the clay balls had any excess dust removed, even though we cleaned it thoroughly before putting it in the system they were still quite bad which ended up with me draining the whole system and re-cleaning the fish tank and filling it back up again. While I was doing that I also emptied the grow bed and gave that a clean out too, the main reason for doing so was I had spotted a nice idea on a forum, someone had painted the top frame black which looked great and now so does mine :).
I was much happier with a fully clean system so proceeded to refill the grow bed with medium and the fish tank with water. At this point I also had some good size lettuce seedlings (well a bit bigger than seedlings but ideal) so whacked them into the bed.
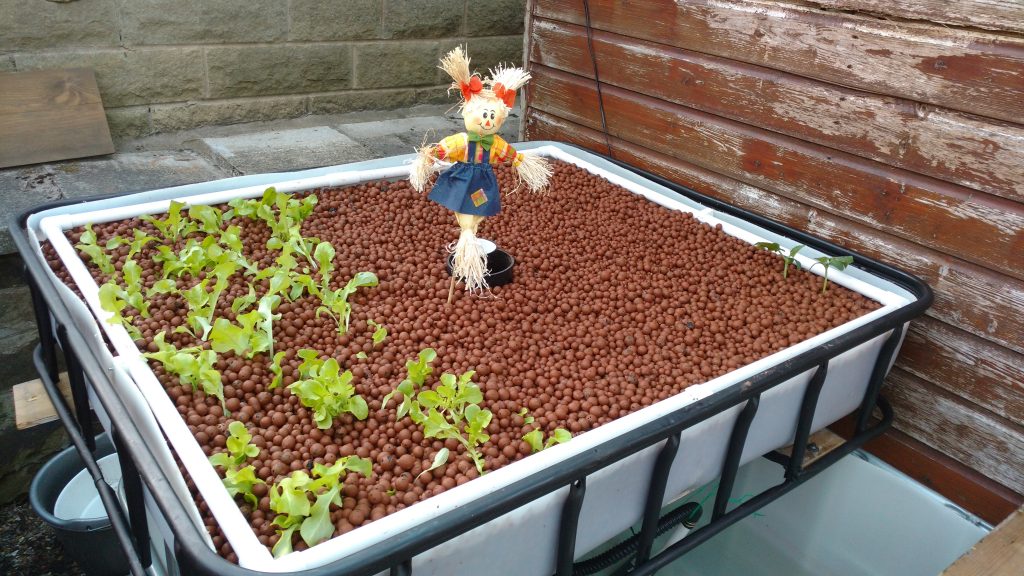
After this was done I left the pump going to start the flood and drain cycling process, I absolutely love the siphon its just genius.
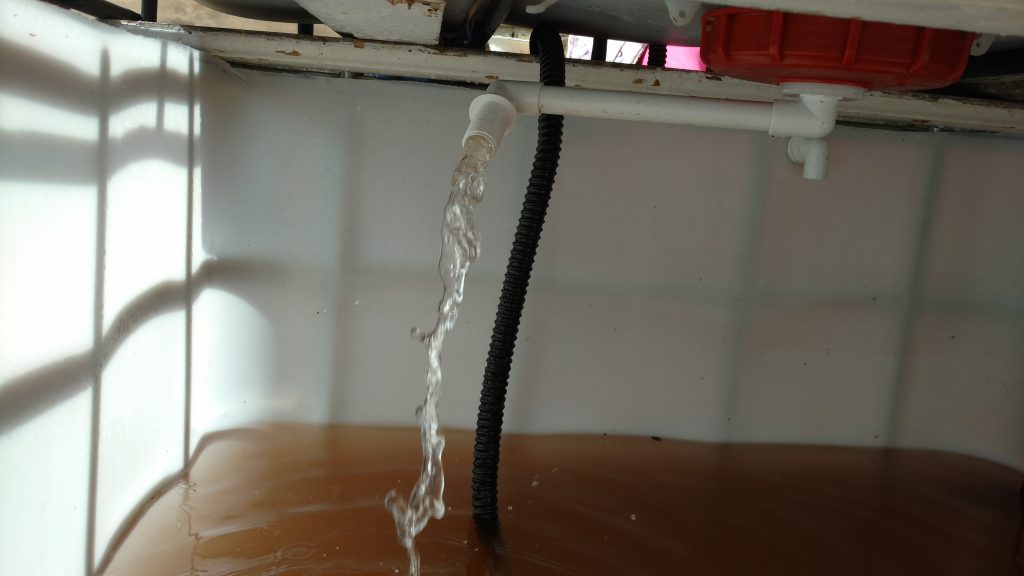
The bed takes around 10 minutes or so to fill up, probably need to work on timings there but I have a few ideas on expanding the system slightly which will increase that to a better time of around 15 minutes. Once the siphon kicks in, full flow is achieved in a matter of seconds and a drain usually takes around 7 or 8 minutes which I’m really happy with the timings of.
I then left the system to cycle for a few days then measured the pH of the water, this came out at around 7.4 which is pretty much spot on for Goldfish.
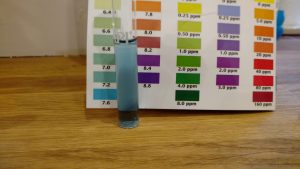
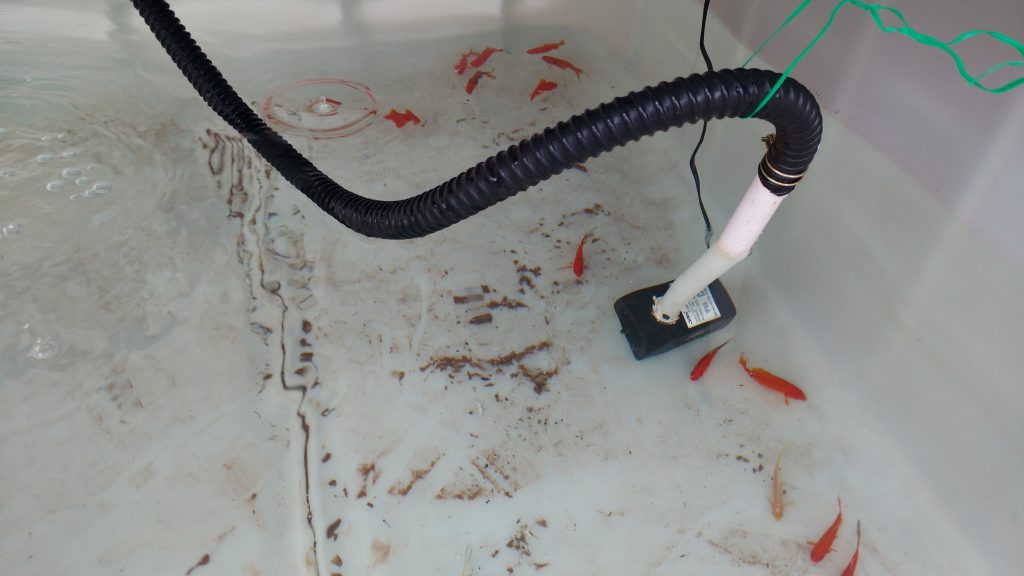
I was thinking of leaving the system cycling for a week or two as that seems to be the unwritten rule, but seeing as the pH was OK I also measured Ammonia levels just to make sure with those coming out at 0. So what the hell lets get some fish in there, I went to the local aquarium and picked up 20 small goldfish and introduced them to the tank later that evening, taking care to acclimatise them to the tanks water temperature and introducing small amounts of its water into their transport.
They have been in for a few days now and seem reasonably happy.
https://www.youtube.com/watch?v=U4GMIEX_HII
So there we go, quite a bit different from my usual type of project but I’m completely engrossed. Although I keep building a small Arduino based device to monitor various elements of the setup and I’m also looking to maybe put a time-lapse Pi alongside to watch the plants grow so will definitely be including some geeky tech in this somewhere along the line.
Stay tuned for future progress on the system.
