Welcome to my corner of the internet where I share my adventures in tech tinkering, homelab experiments, maker projects, and cycling escapades. Whether I’m setting up servers in my home lab, building something cool, or hitting the trails on two wheels, I’ll try to document the journey. Stick around if you’re into any of these things – I’m always excited to share what I learn along the way!
“Test blog from iPhone"
This is a very short post to test writing posts from iPhone that include images.
By Jon Archer
Continue reading...Test blog from iPhone
This is a very short post to test writing posts from iPhone. Using full git workflow as always.
By Jon Archer
Continue reading...Cycling to Carnforth via the Trough of Bowland
A cycling journey to Carnforth via the scenic Trough of Bowland, one of Lancashire’s most beautiful routes.
By Jon Archer
Continue reading...2024 Cycling Recap
A scenic summer evening ride along the converted railway paths from Bury to Rawtenstall, taking in the beautiful Kirklees and Irwell trails.
By Jon Archer
Continue reading...Cycling the Old Railway Lines: Bury to Rawtenstall
A scenic summer evening ride along the converted railway paths from Bury to Rawtenstall, taking in the beautiful Kirklees and Irwell trails.
By Jon Archer
Continue reading...Cycling Bolton Abbey to Burnsall: An Impromptu Adventure in the Yorkshire Dales
When plans change unexpectedly, sometimes the best adventures emerge - a beautiful cycling journey through the Yorkshire Dales from Bolton Abbey to Burnsall.
By Jon Archer
Continue reading...Terraforming Serverless
In my day job recently I’ve been rewriting AWS deployment infrastructure-as-code taking Serverless-Framework and raw Cloudformation transforming it into Terraform.
By Jon Archer
Continue reading...Blogging With Best Intentions
I’ve always set out with the best intentions for this site, to regularly write posts about things I’m up to, found out or whatever.
By Jon Archer
Continue reading...GoingOffGrid Pt2
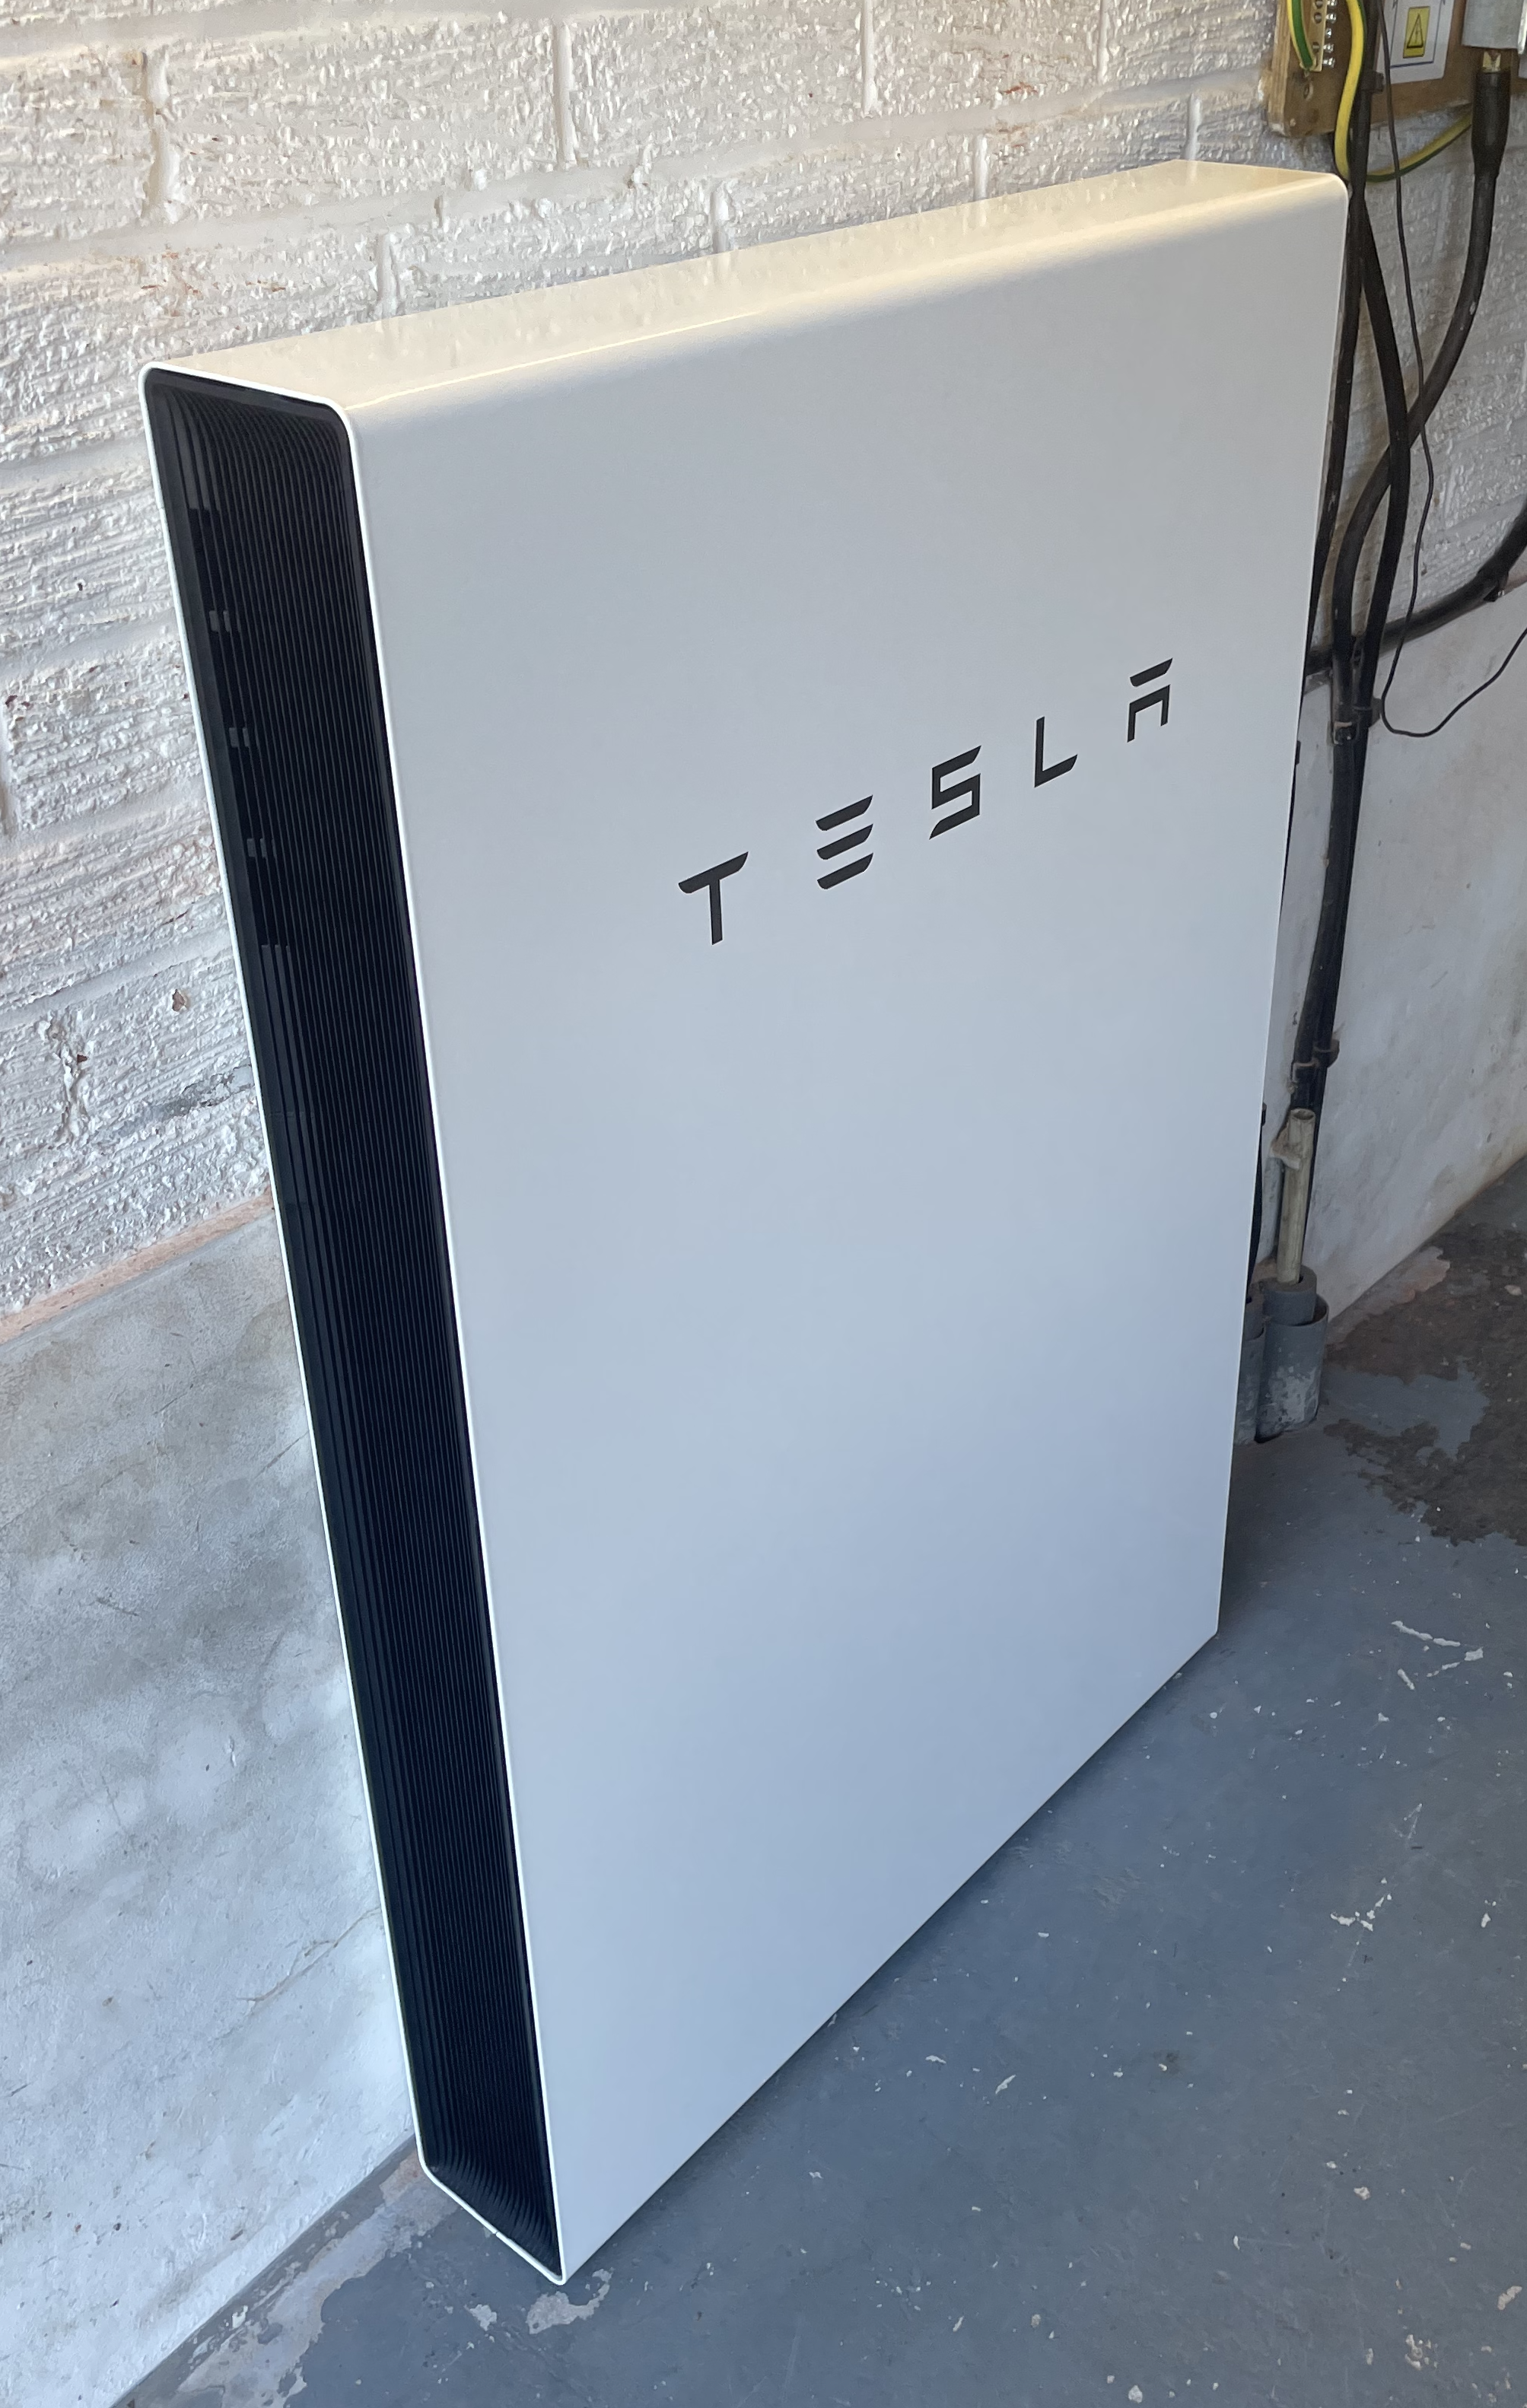
The day after the Tesla PowerWall install and I’ve configured the device in Home Assistant with some rudimentary additions to existing dashboards.
By Jon Archer
Continue reading...


